Setting up your email address using Windows Live Mail
Launch Windows Live Mail on your computer
If you are not presented with add new email account wizard
Â
- Click Accounts
- Click Email
Â
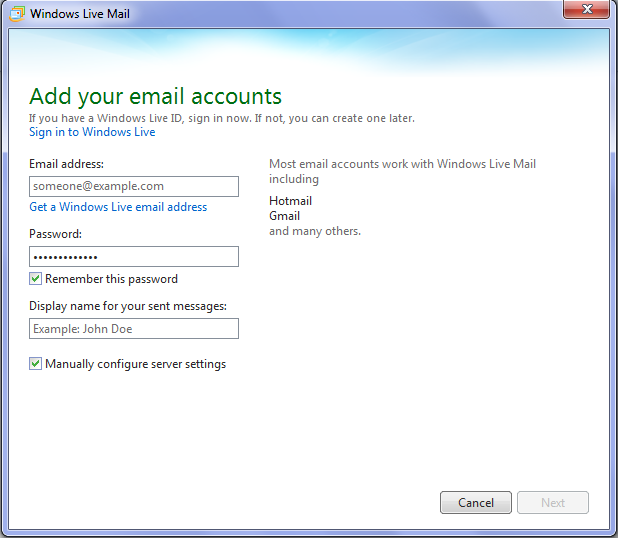
You'll be presented with the following window
Â
Click Next
On the following screen
Enter your email address
Enter your email account password
Tick Manually Configure Server Settings
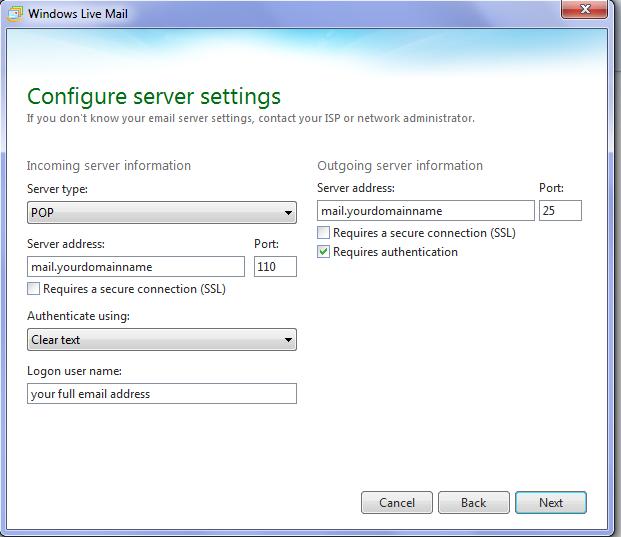
Incoming Server Settings (POP3)
Â
- Server Type
Select POP - Server Address
e.g. mail.yourdomainname.com (this information is to the right of the @ sign in your email address) - PORT Number
110 - Leave Requires SSL unchecked
- Authenticate using Clear text
- Logon User Name
enter your full email address
Â
Outgoing Server Settings (SMTP)
Â
- Server address
mail.yourdomainname - Port number
25 or 26 - Leave requires SSl unchecked
- Tick Requires Authentication
- Click Next
If successful you'll be presented with the following screen
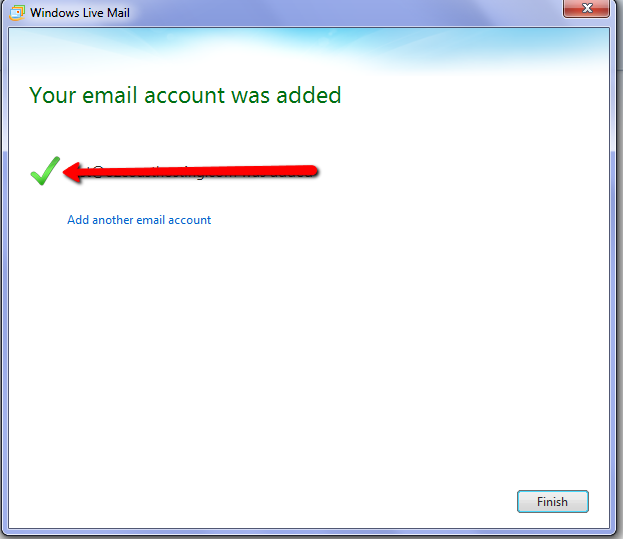
Click finish. There are still a couple of steps so read on.
Â
Â
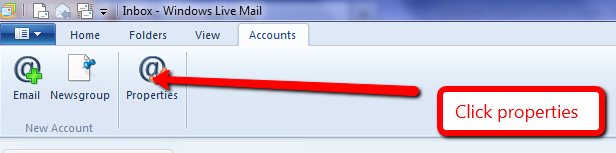
- Click the accounts Tab
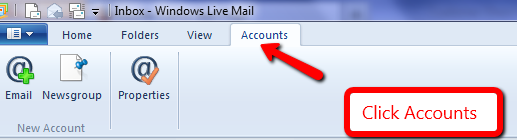
- Click Properties
- Click the Advanced Tab

- At the bottom of this tabÂ
Untick leave a copy of messages on the server or
Tick remove copies of messages from the server after xx days. We suggest no more than 7 days to avoid your mailbox quota being reached.
- Click OK and you are done.
Â
Â
